How To: Add a placeholder to TextEditor in SwiftUI
Published on 12 Oct 2023
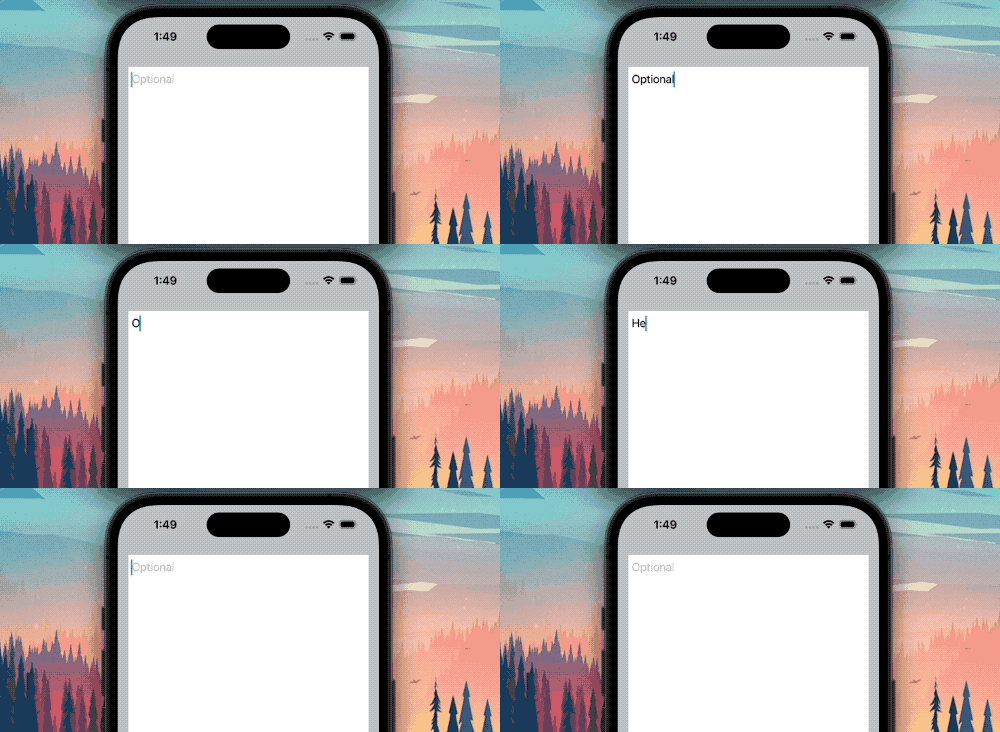
If you tried to add a placeholder to a TextEditor you might have noticed that.. it doesn't work. It turns out TextEditor doesn't support a placeholder. Here's a quick and straightforward way how you can implement a placeholder yourself.
I am going to show you the fully working piece of code so you can just copy and paste it. And if you want to understand why I did certain things like padding or spacer you will find the explanation right under the code snippet.
struct ContentView: View {

    @State
    var text: String = ""

    var body: some View {
        ZStack {
            TextEditor(text: $text)

            if text.isEmpty {
                VStack {
                    HStack {
                        Text("Optional")
                            .foregroundStyle(.tertiary)
                            .padding(.top, 8)
                            .padding(.leading, 5)

                        Spacer()
                    }

                    Spacer()
                }
            }
        }
    }
}
You can see we are using a ZStack. It's important the TextEditor comes first as we want the Text view to be on top.
The reason we use a VStack and an HStack here, is, because otherwise our Text view would be centered. However we want it vertically on top and horizontally to the left.
The padding is used to place the text exactly where the TextEditor text would start. Using a simple isEmpty check allows us to show/hide the Text view based on whether we've entered something in our TextEditor. And that's it!

I hope you found it useful! If you have any suggestions or feedback, let me know. I’d love to hear from you!
