Understanding @State in SwiftUI
Published on 13 Oct 2023
In this tutorial we will dive into the fundamentals of State — what it is, why it’s good and how to use it.
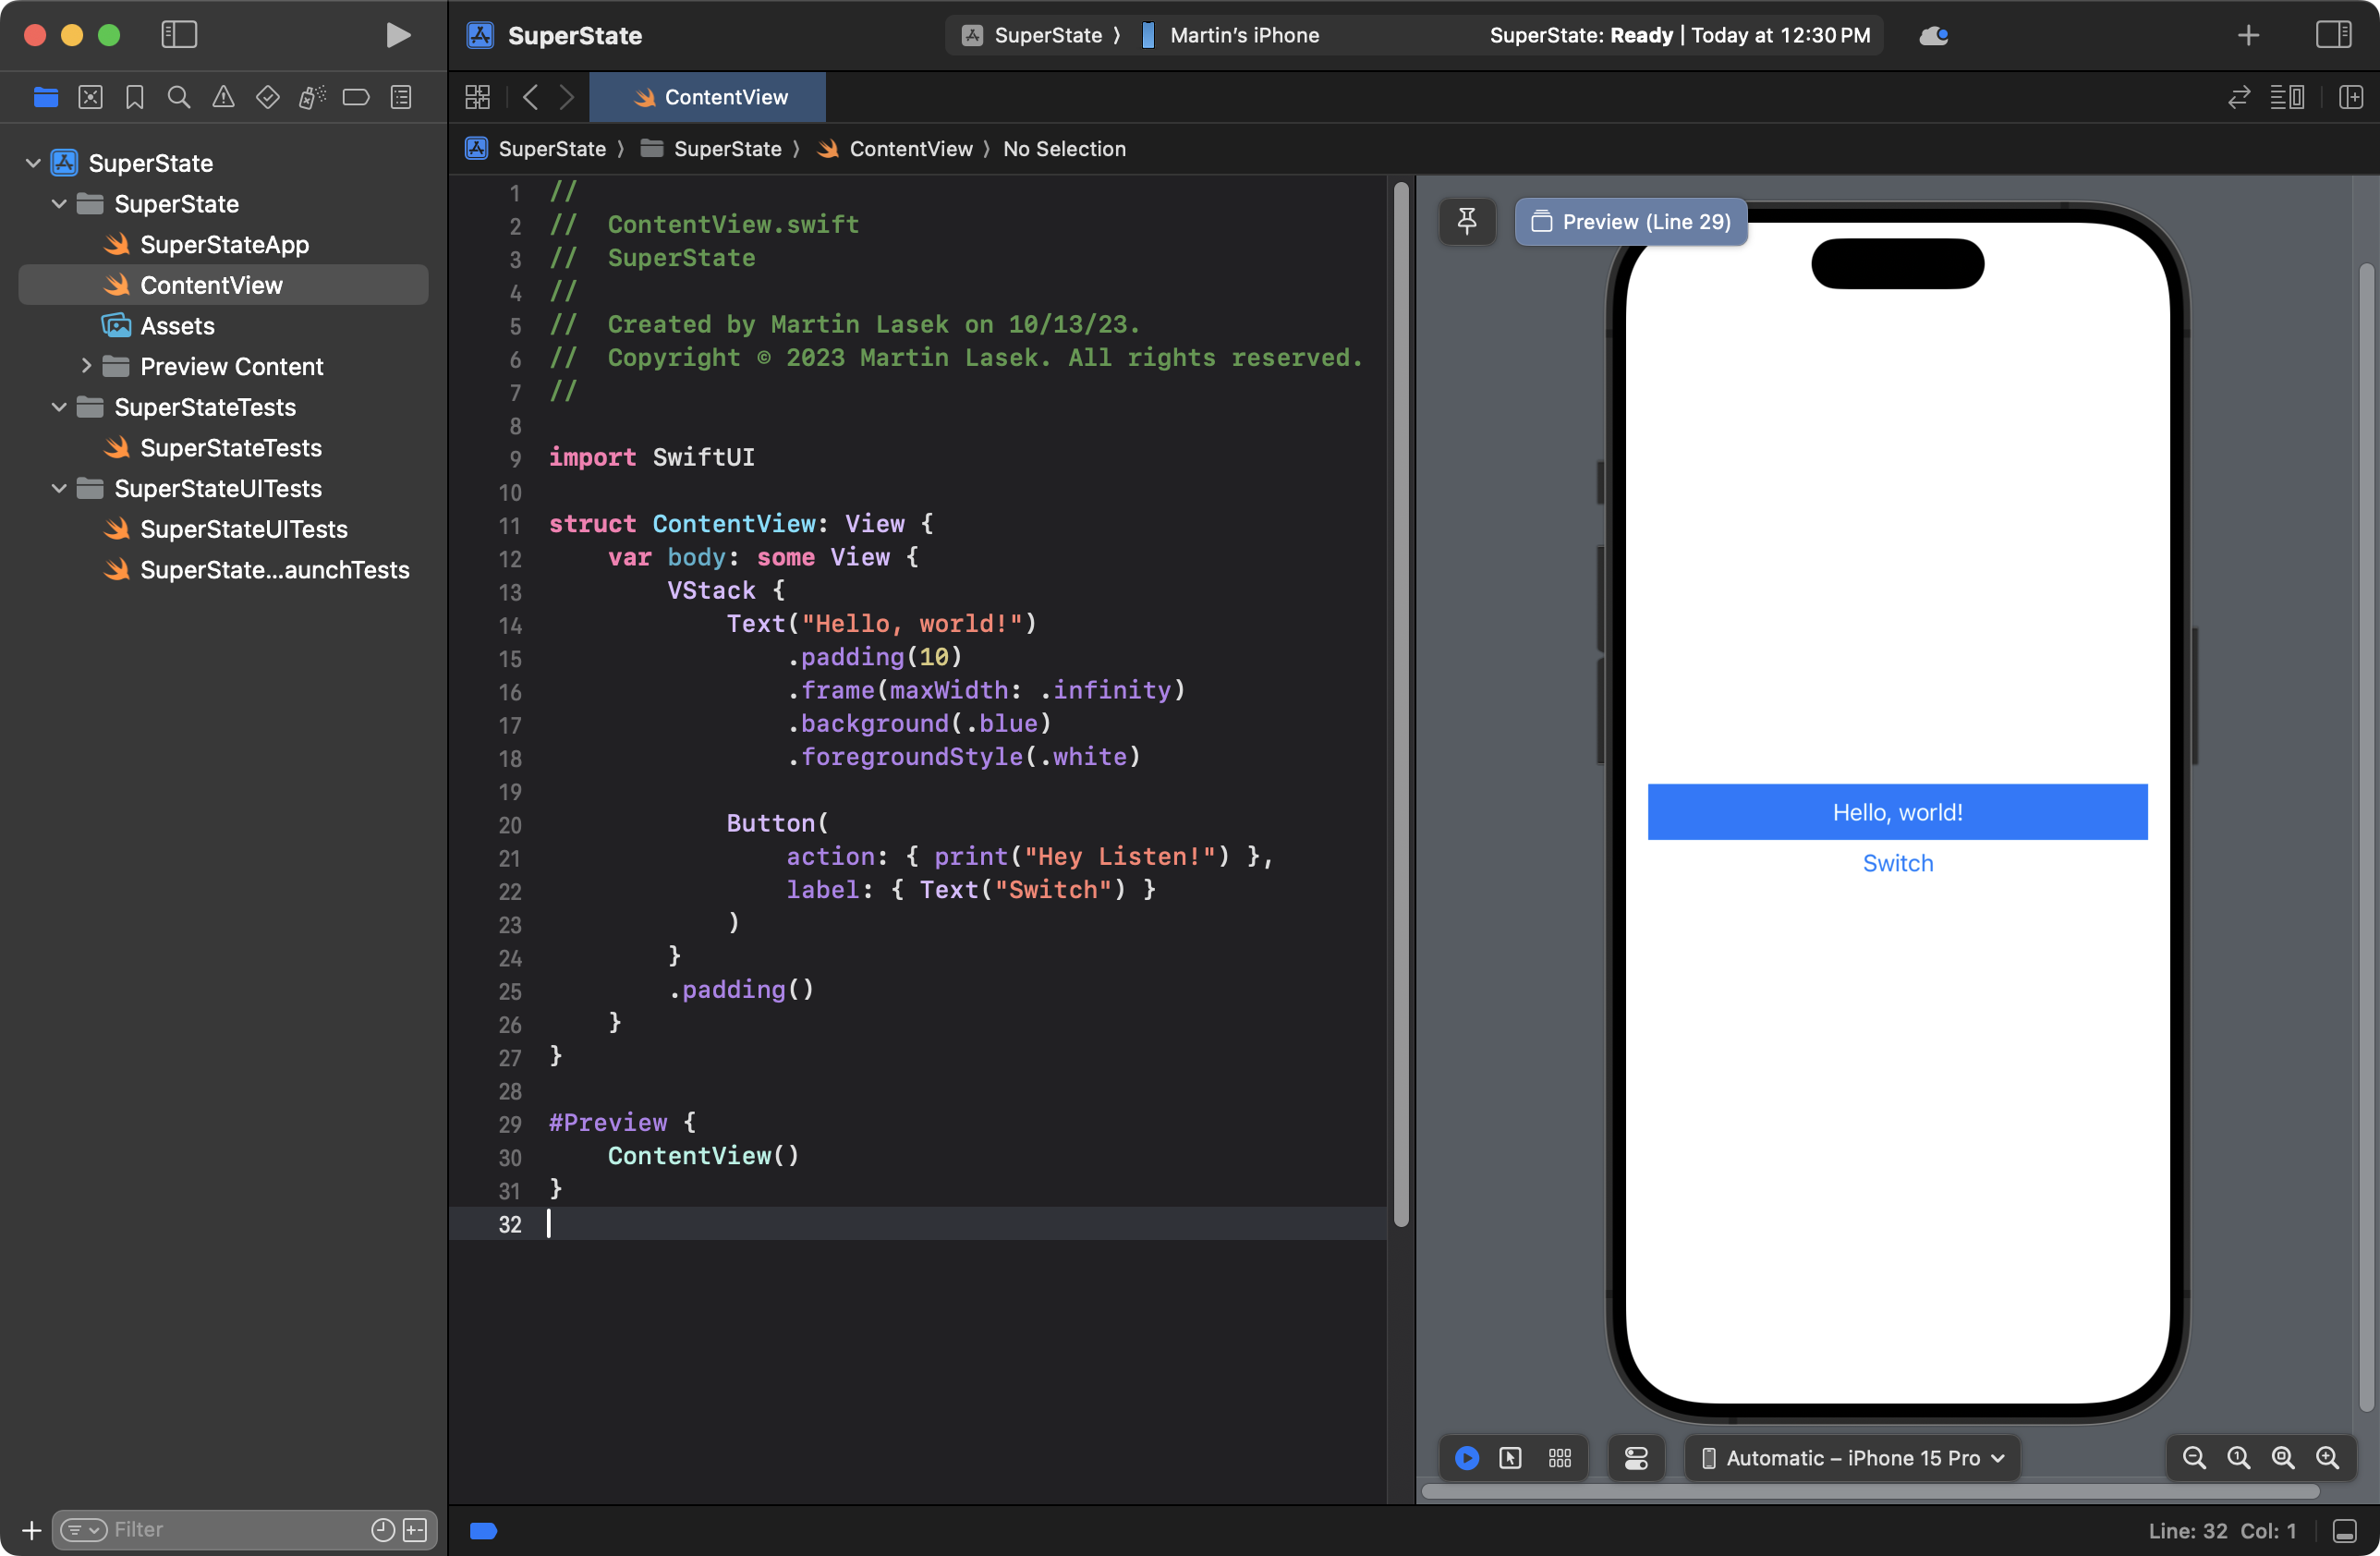
Here's what you will have achieved at the end of this tutorial.
1. Create a new SwiftUI Project
In Xcode just go ahead as usual and create a new project and select the Single View App:
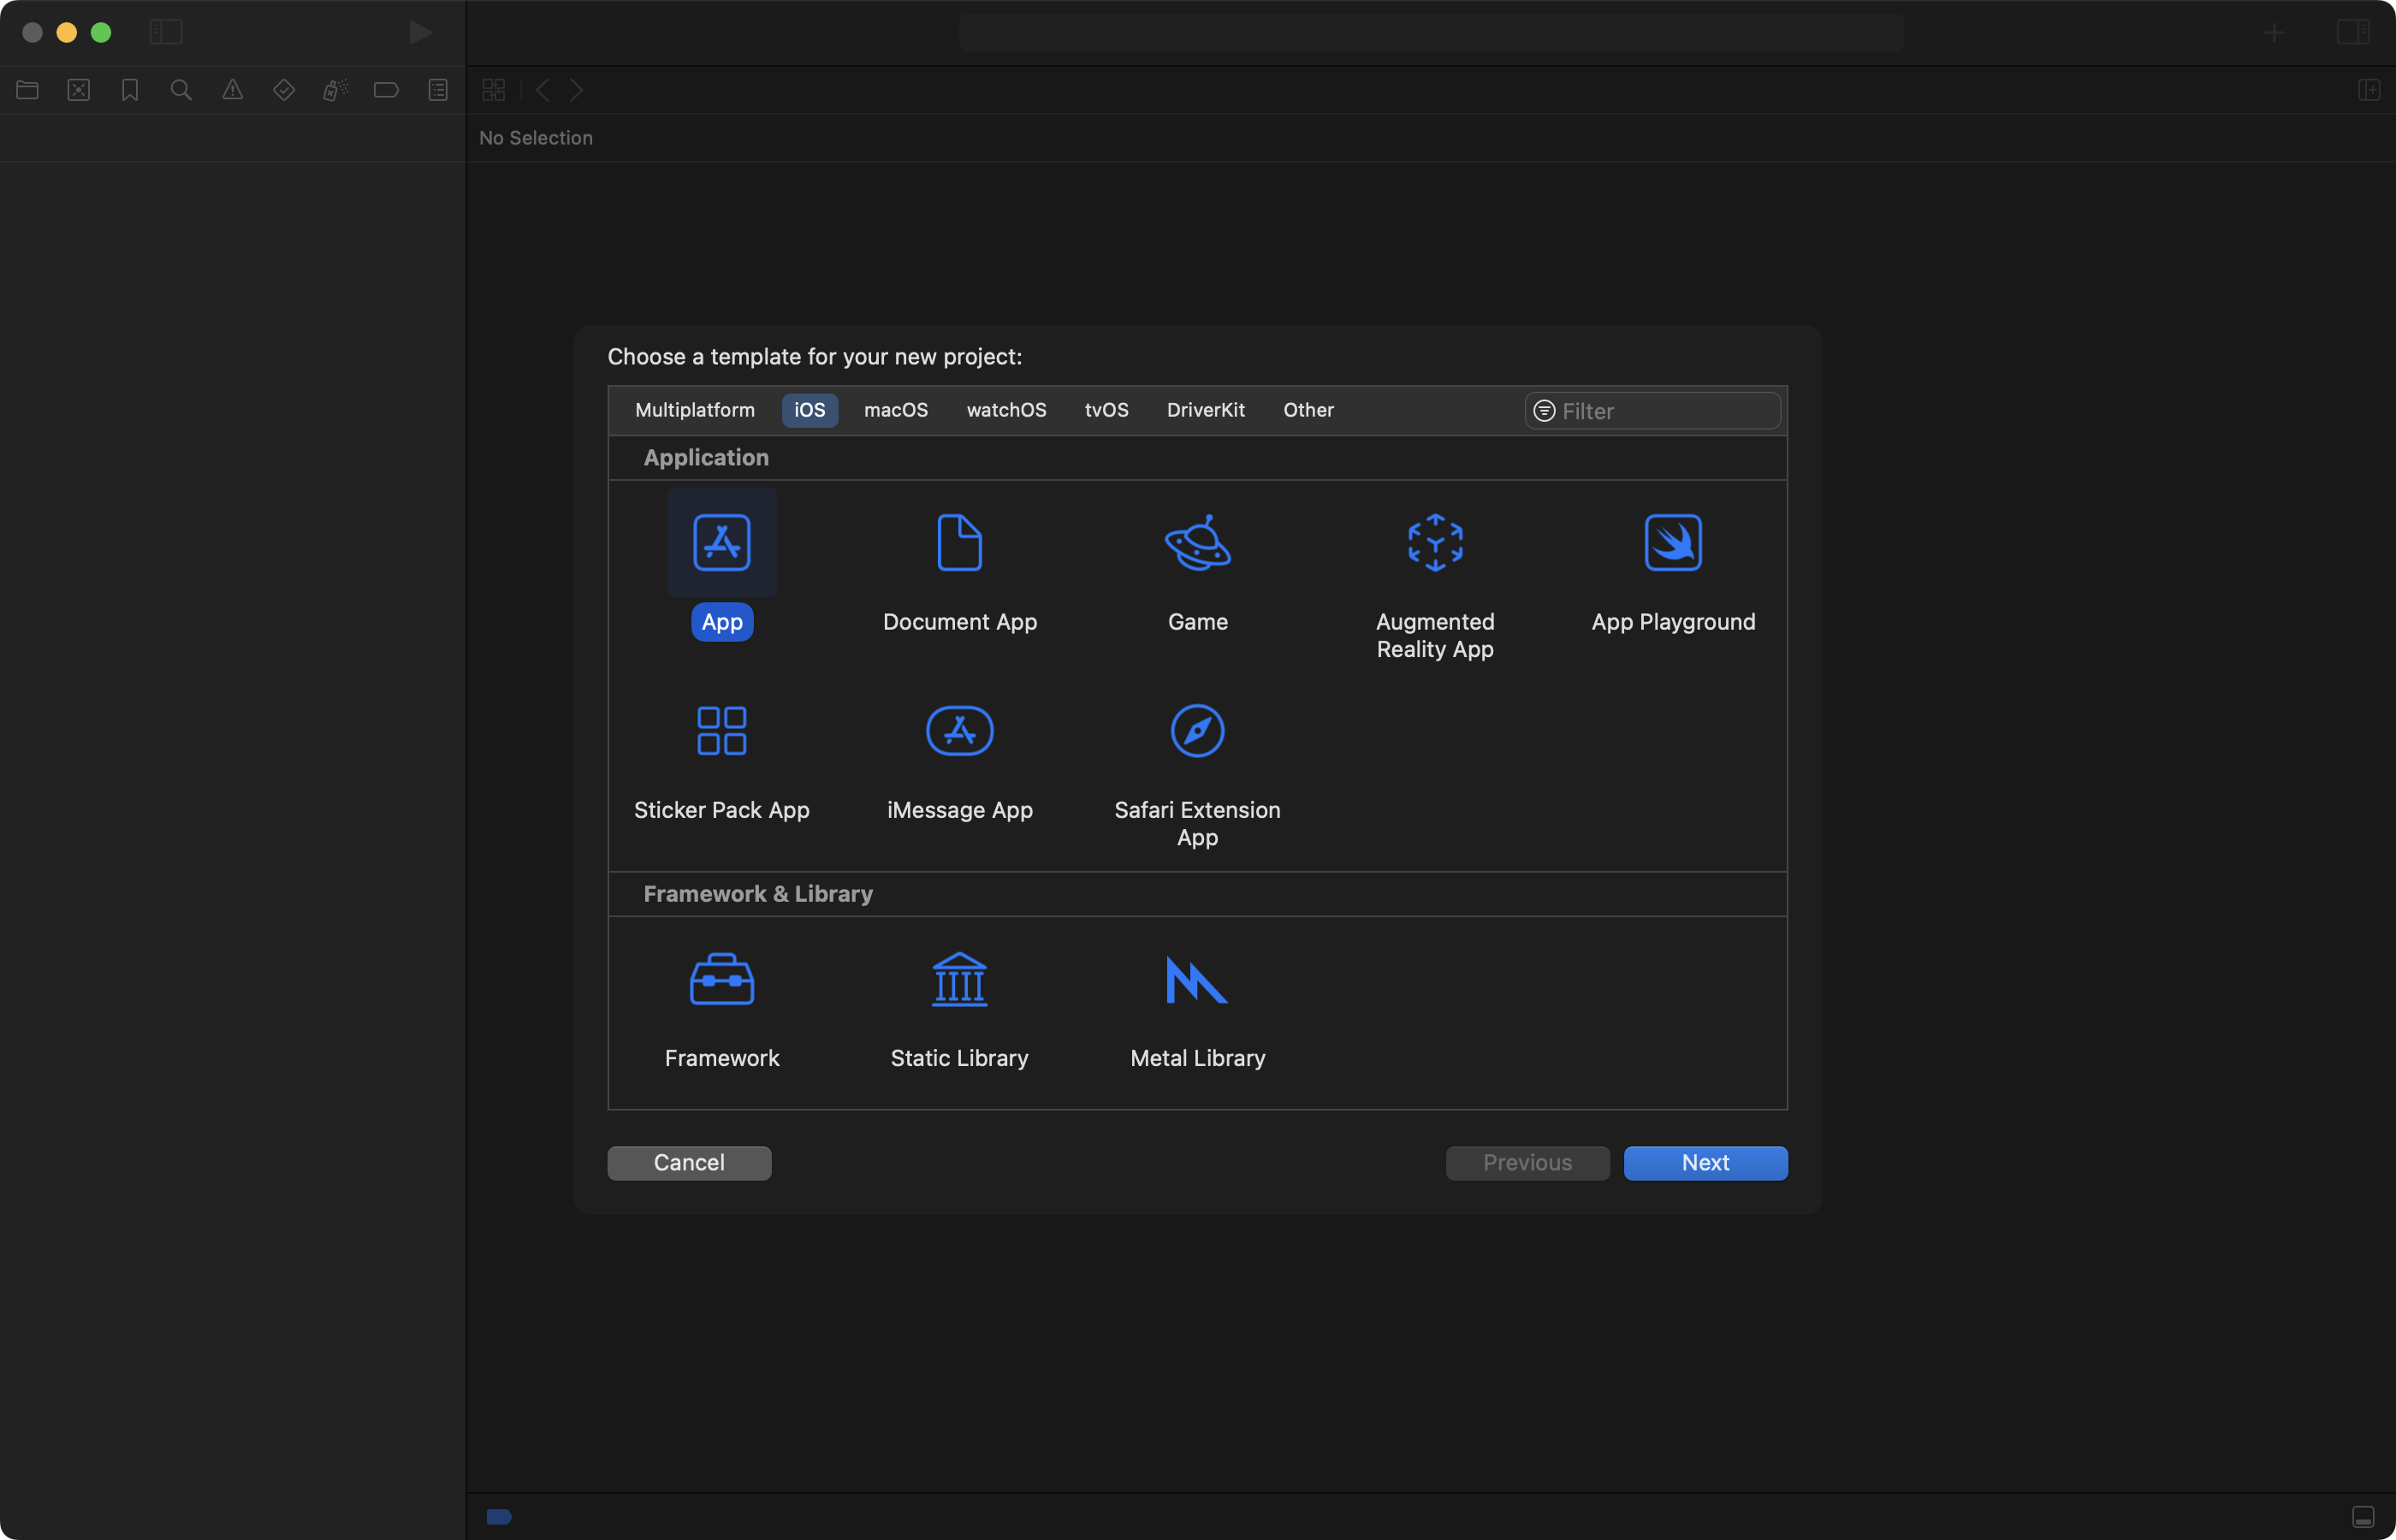
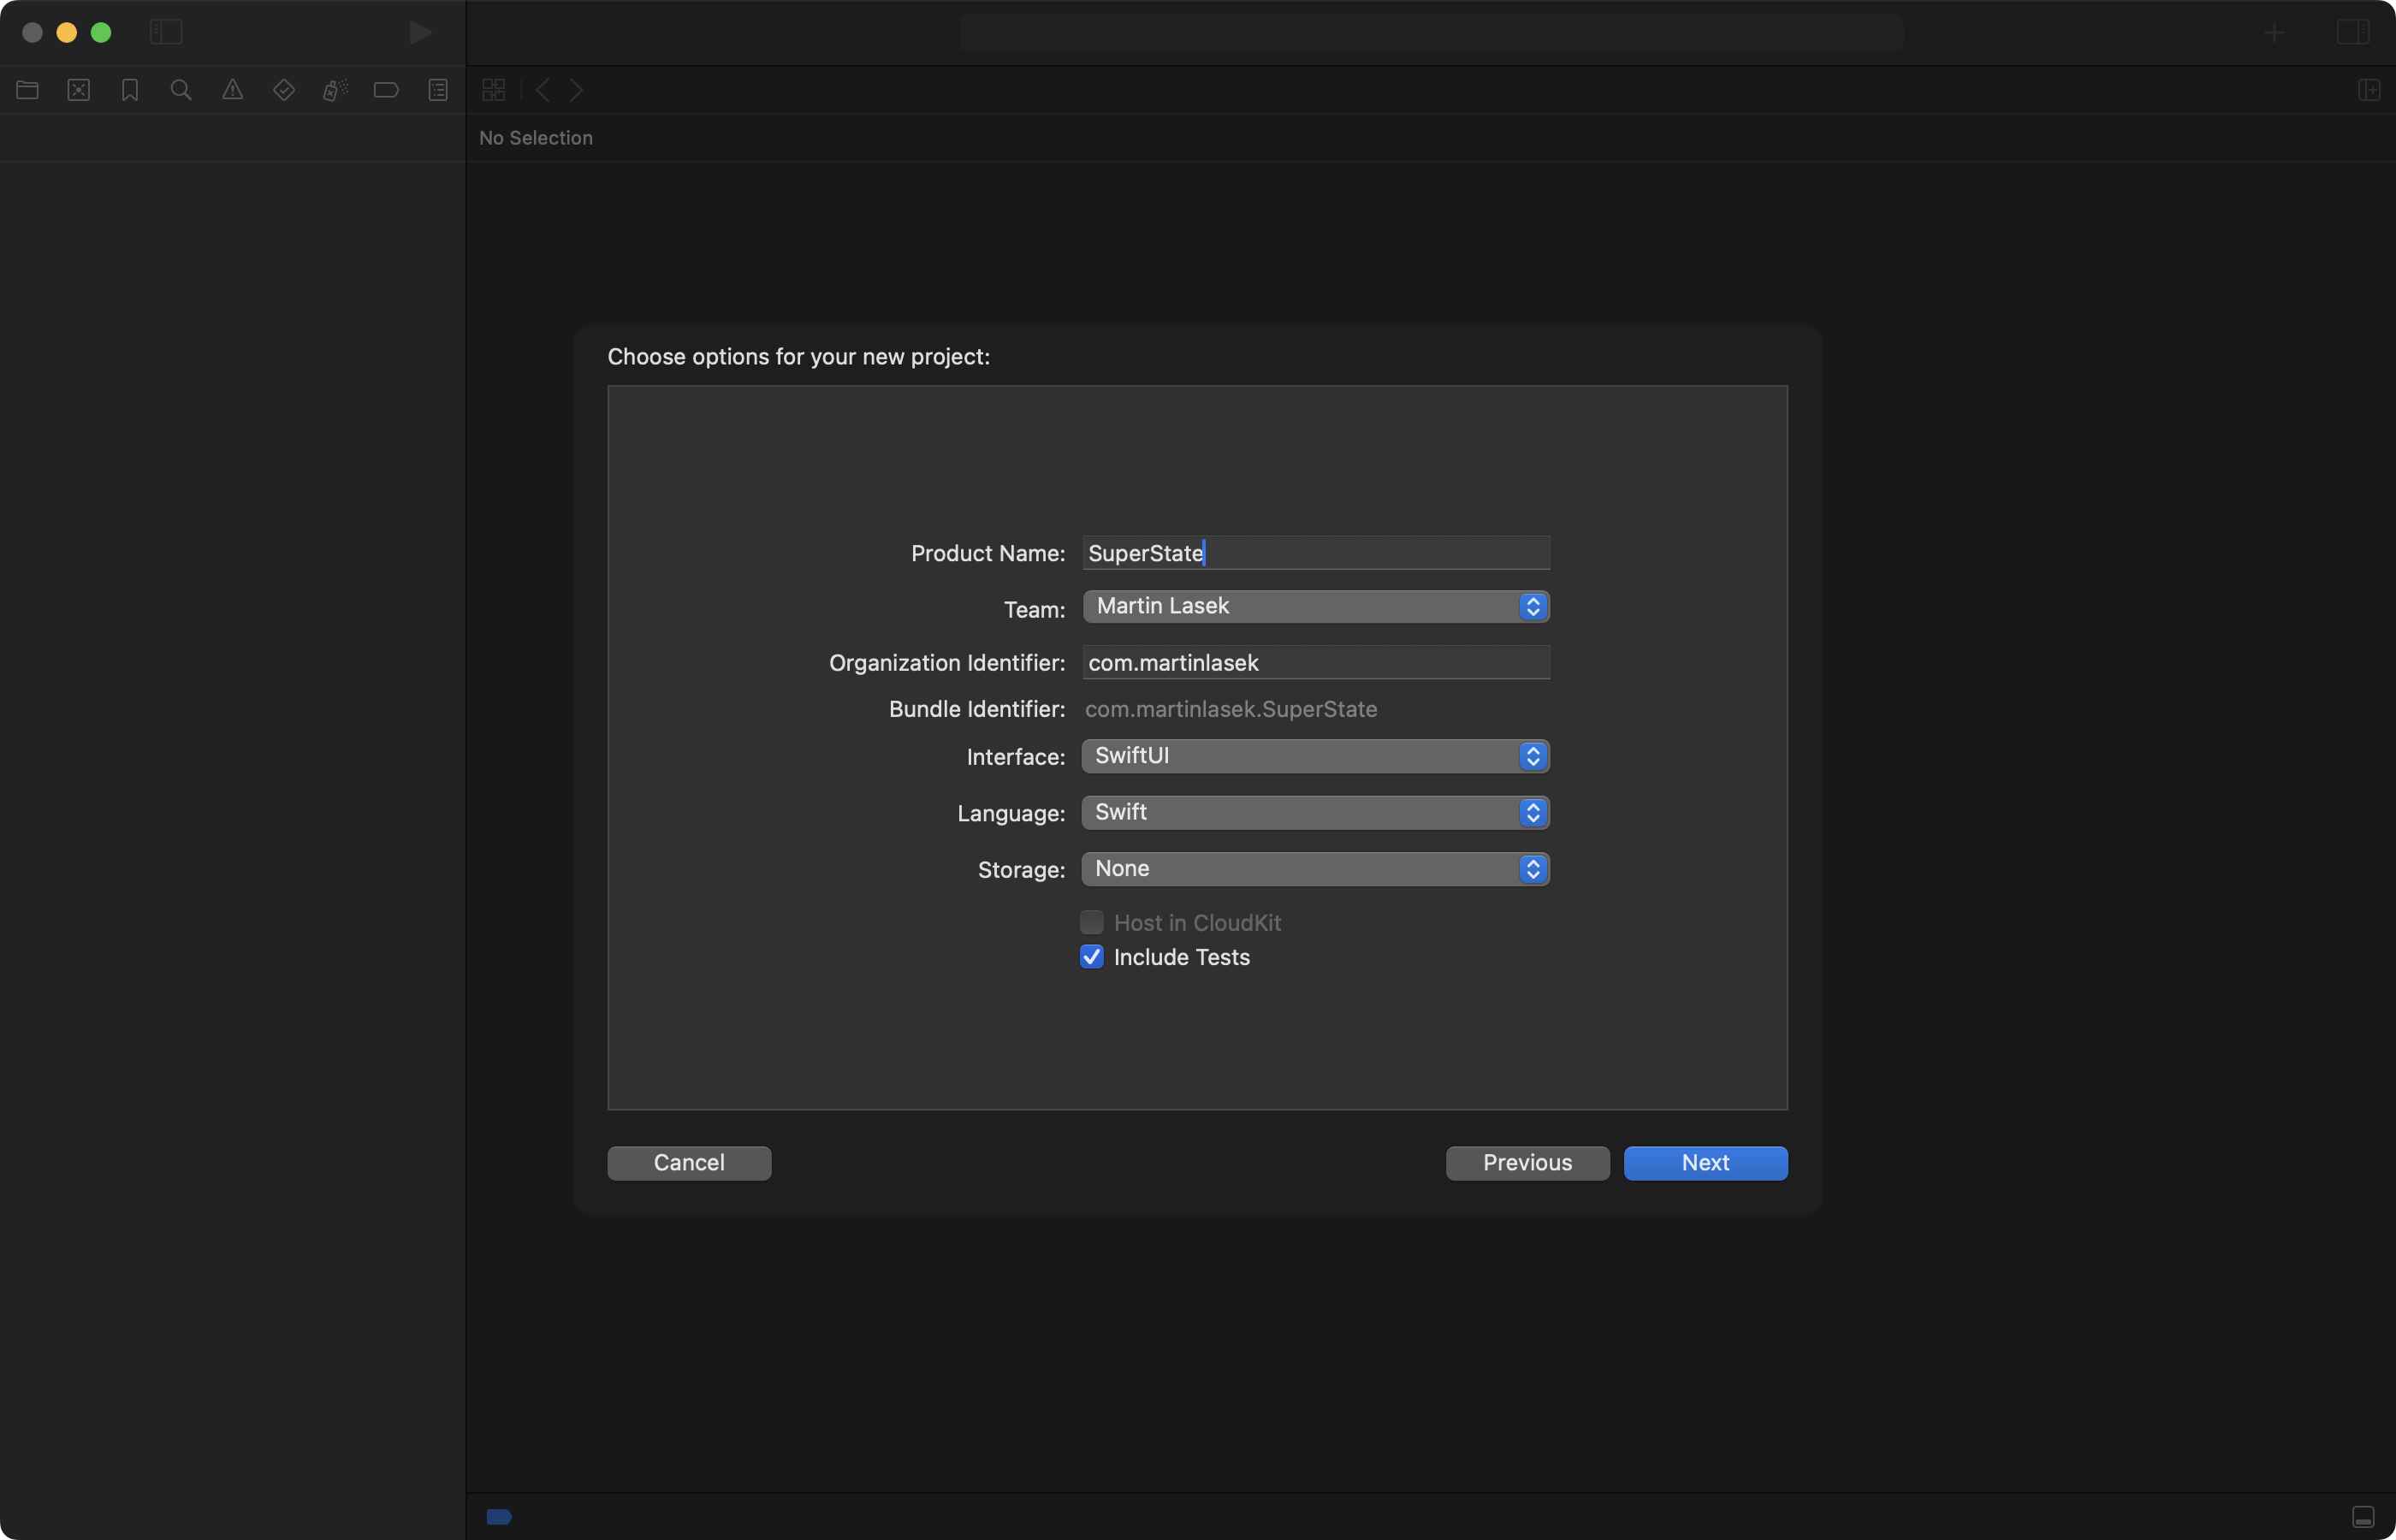
Next, make sure that Use SwiftUI is checked before you finally determine where to create the project:
2. Create A Text and a Button View
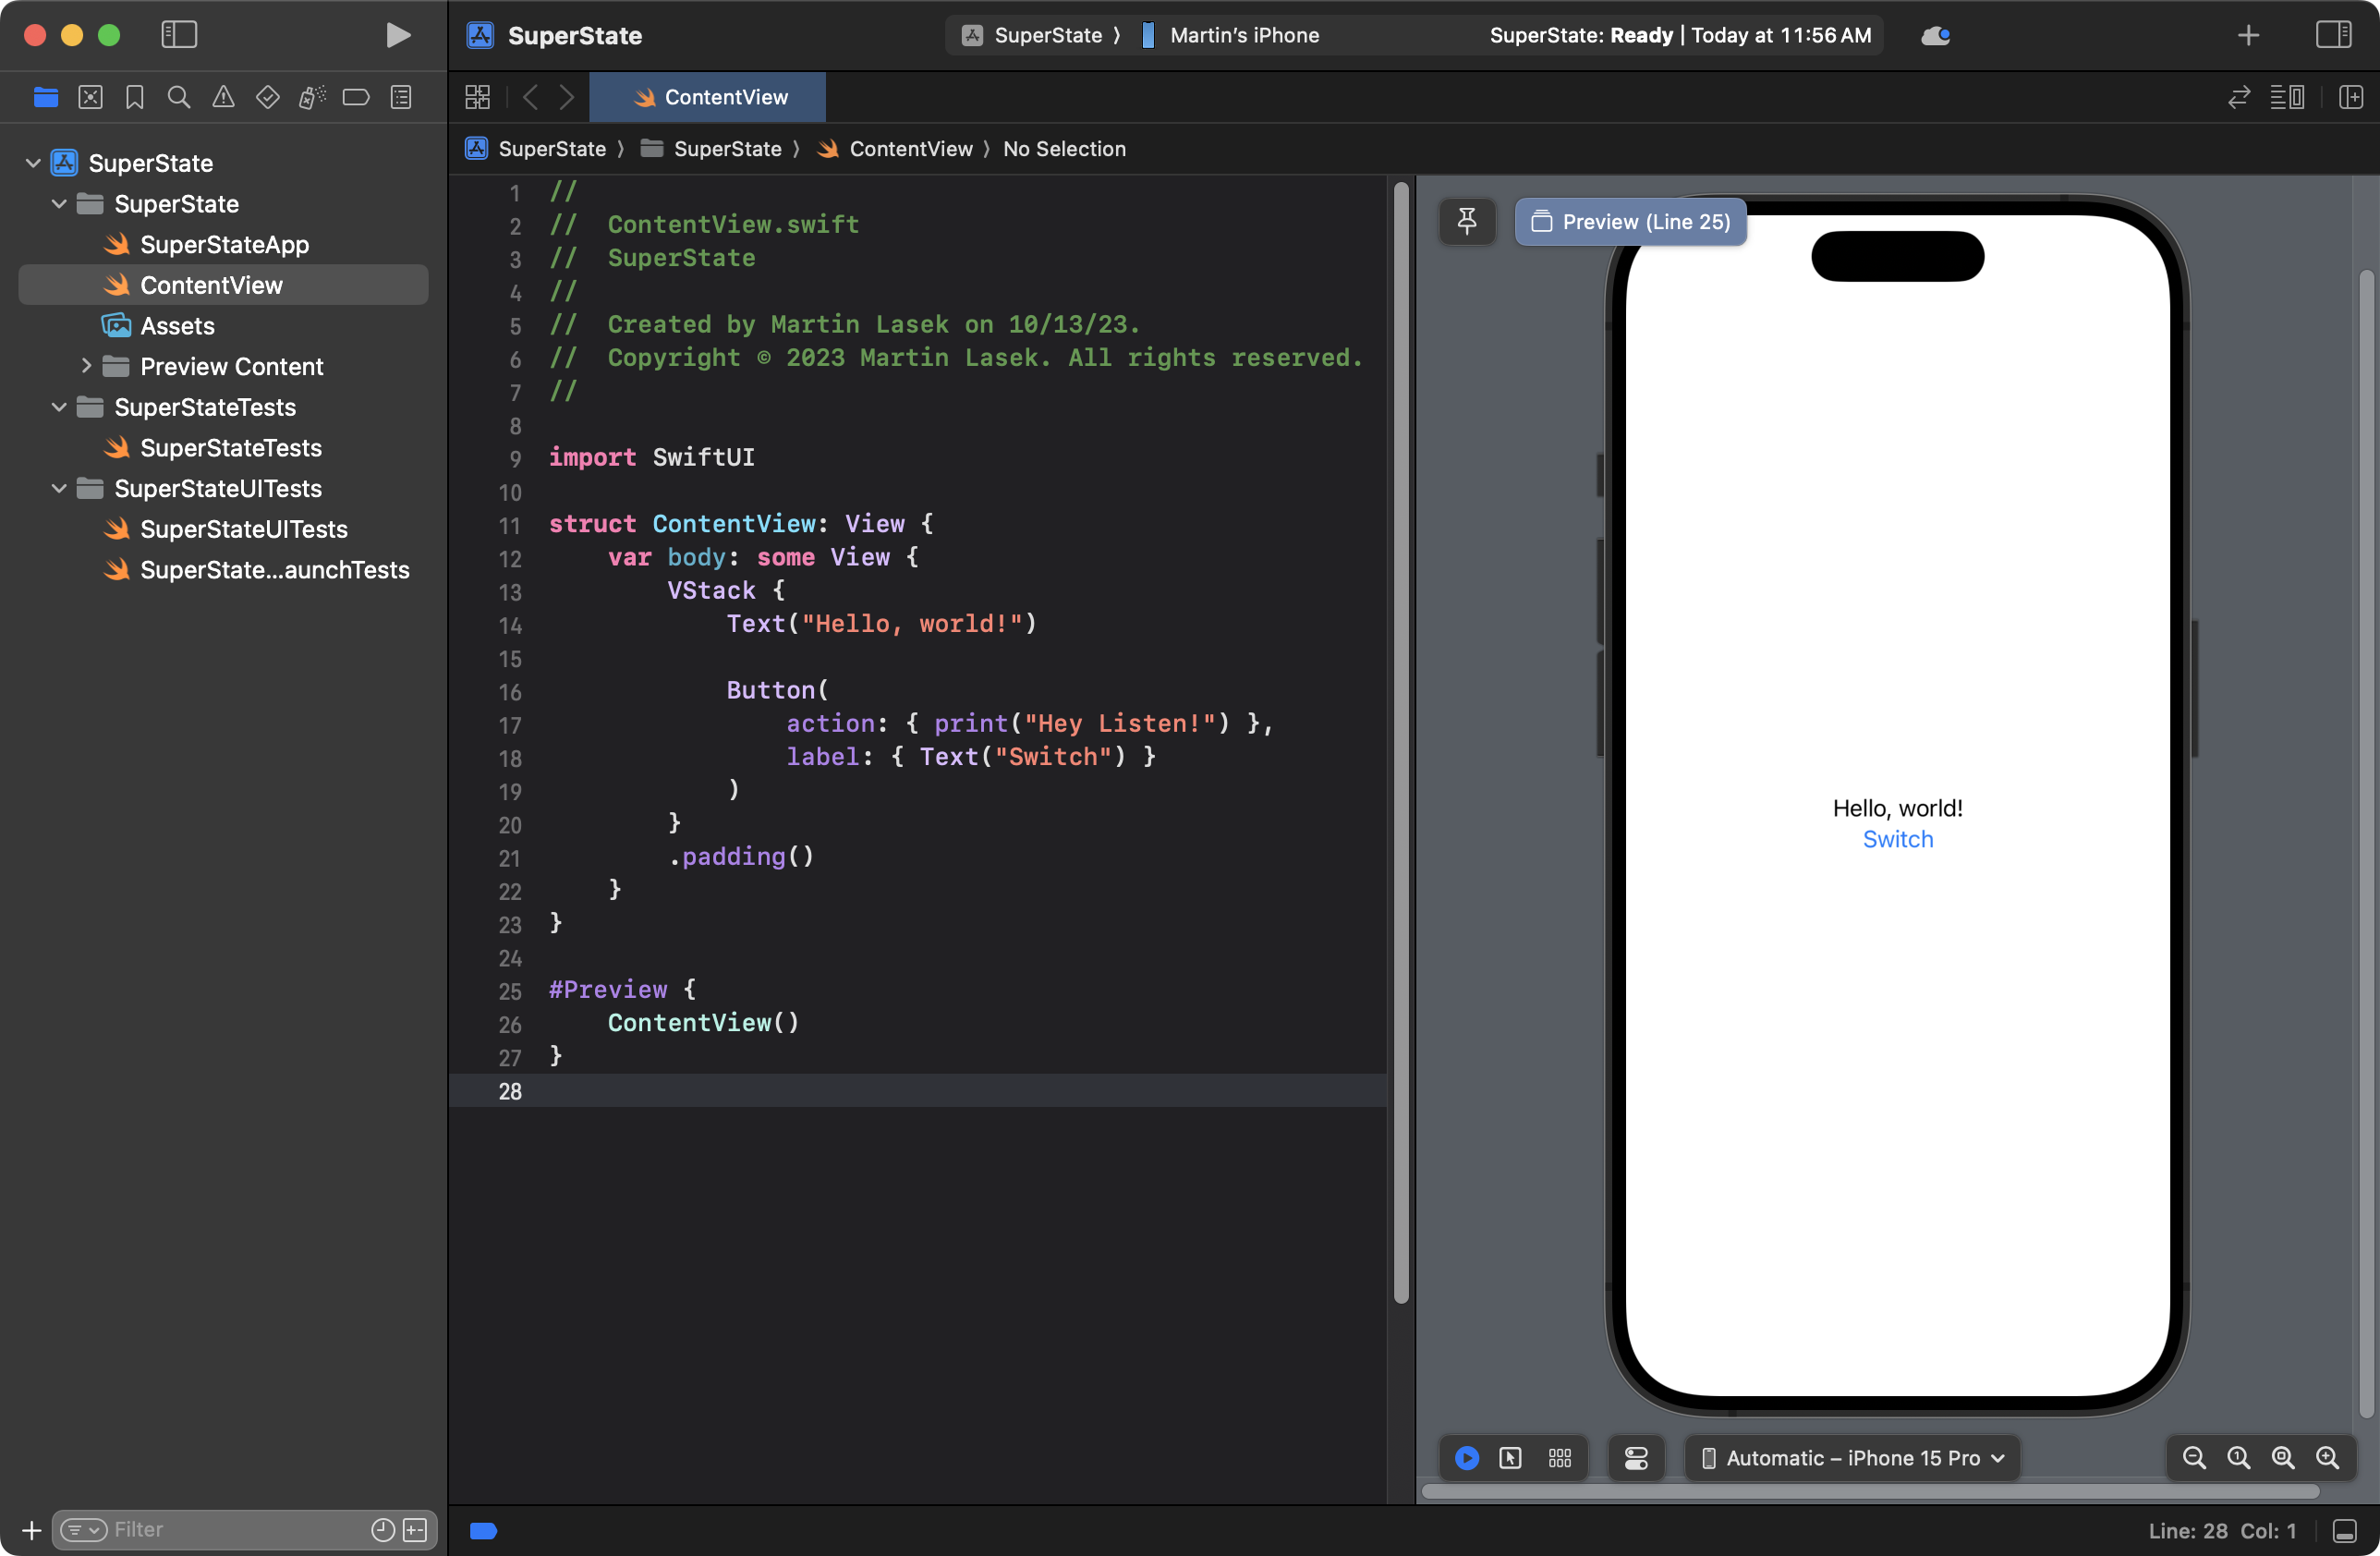
You will be greeted with two .swift files from which we will solely focus on ContentView.swift. Inside here we see an Image view and Text view. Let's delete the Image view and add a Button view instead:
Let’s explain each line here. Now VStack allows you to vertically stack views. The counterpart is HStack and you guessed it — it allows horizontal stacking.
You can already feel how strongly SwiftUI focuses on closures and Views.
The Button view is instantiated with two closures. The first one we pass in will be executed when the button is tapped. The second one is for us so we can return a View inside of it which defines the appearance of our button.
Let’s apply some styling to our Text so that it’s a little nicer to look at it:
struct ContentView: View {
    var body: some View {
        VStack {
            Text("Hello, world!")
                .padding(10)
                .frame(maxWidth: .infinity)
                .background(.blue)
                .foregroundStyle(.white)

            Button(
                action: { print("Hey Listen!") },
                label: { Text("Switch") }
            )
        }
        .padding()
    }
}
Don't worry if this feels a little intimidating. These functions to style and manipulate a view are just new right now. But just like we slowly learned how to set the background color of a UIView to blue:
override func viewDidAppear(_ animated: Bool) {
    super.viewDidAppear(animated)
    myView.backgroundColor = .blue
}
We will learn and get used to how to achieve the same thing (and more) in SwiftUI!
Okay, now with our adjustments you should have an awesome looking view like this:
3. Understanding State
Looking at our code we actually want to pass a name of a Pokemon into our Text view. Let’s not forget that we have nothing fancy but just a simple struct. We did use structs before and defined variables and functions inside of them.
So let’s define a variable with a pokemon name and a function that changes it:
struct ContentView: View {
    var pokemonName = "Charmander"

    var body: some View {
        VStack {
            Text(pokemonName)
                .padding(10)
                .frame(maxWidth: .infinity)
                .background(.blue)
                .foregroundStyle(.white)
            Button(
                action: { self.switchPokemon() },
                label: { Text("Switch") }
            )
        }
    }

    func switchPokemon() {
        pokemonName = "Pikachu"
    }
}
Xcode should complain: Cannot assign to property: ‘self’ is immutable.
That’s because structs by default can’t mutate their own properties / variables. They could when we say mutating in front of our switchPokemon function. However, this isn’t really our issue — what we want is to write the new keyword @State in front of our variable pokemonName and it’s fixed!
struct ContentView: View {
    @State
    var pokemonName = "Charmander"

    var body: some View {
        ...
    }

    func switchPokemon() {
        pokemonName = "Pikachu"
    }
}
What does that new keyword do and why is it good?
It basically means our View which is our body variable will be re-rendered as soon as we are changing a variable that has @State as a keyword in front of it.
Go ahead hit run and click the button to see how the text switches to pikachu!
When our body gets rendered the first time we have “Charmander” as a value for our variable with the @State keyword in front of it. The Text view will therefore display “Charmander”.
Now, when we tap the button this will update our variable to a new value: “Pikachu” - and because our variable is a @State variable our View will be re-rendered. However at this point our pokemon variable holds the value “Pikachu” and so that's what the Text view will show.
We can finish our random Pokemon name picker with actual random names:
struct ContentView: View {
    @State
    var pokemonName = "Charmander"

    var body: some View {
        VStack {
            Text(pokemonName)
                .padding(10)
                .frame(maxWidth: .infinity)
                .background(.blue)
                .foregroundStyle(.white)
            Button(
                action: { self.switchPokemon() },
                label: { Text("Switch") }
            )
        }
    }

    func switchPokemon() {
        let list = ["Squirtle", "Bulbasaur", "Charmander", "Pikachu"]
        pokemonName = list.randomElement() ?? ""
    }
}
Now you should have a View that automagically re-renders as soon as you change your @State variable and you should be able to switch to a random pokemon from your list by tapping the button 🥳
I hope you found it useful! If you have any suggestions or feedback, let me know. I’d love to hear from you!